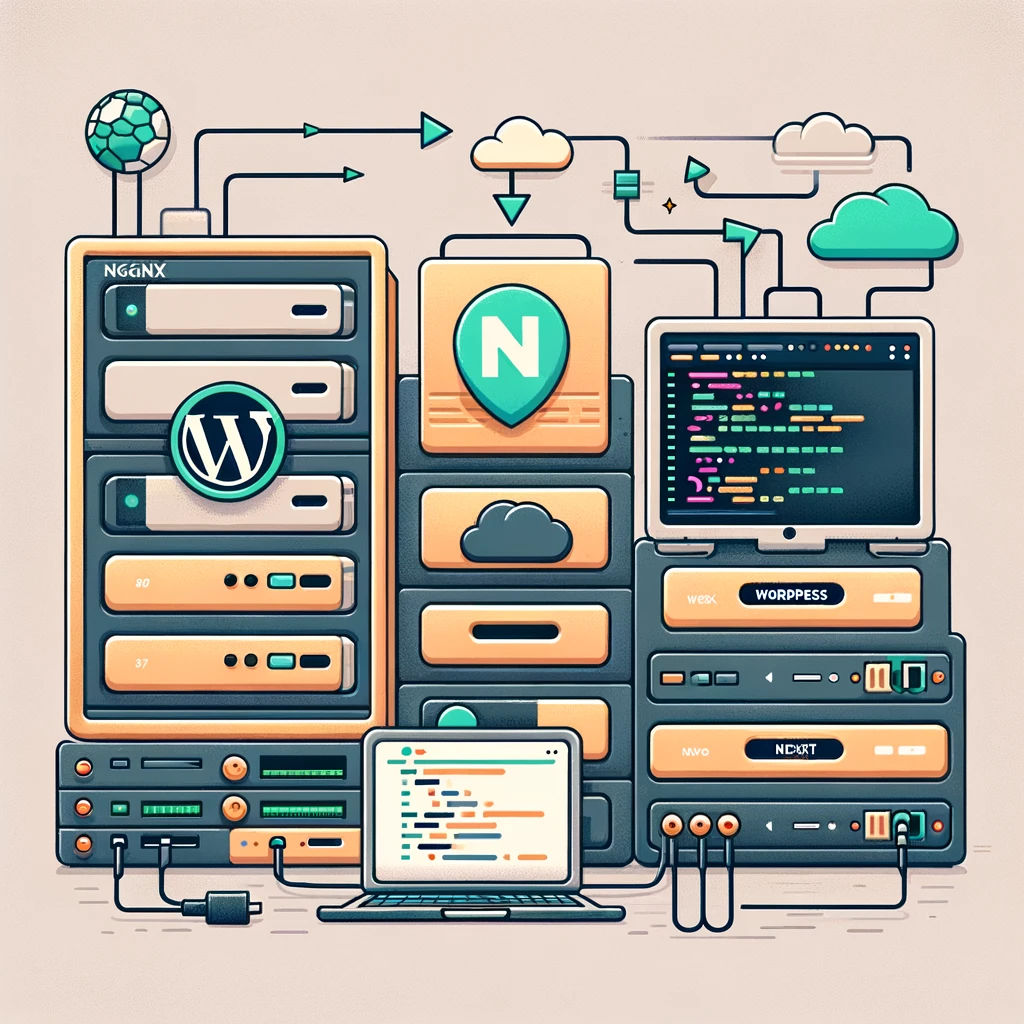
How to Run WordPress and a Next.js Application Side by Side on a Single Server
::: post-intro Running WordPress and a Next.js application on the same server allows you to combine enterprise-ready content management with a modern JavaScript frontend framework. This guide details the complete workflow---from server preparation to production deployment---ensuring a stable, secure, and efficient setup. :::
Prerequisites
To follow this guide, ensure the following resources and dependencies are available:
- A server with root or sudo access (VPS, bare metal, or cloud instance)
- Ubuntu or Debian-based Linux distribution
- NGINX installed as the primary web server and reverse proxy
- Node.js and npm for running Next.js
- PHP-FPM and MySQL for WordPress
- A domain and DNS control (e.g., through a registrar or hosting provider)
- Working knowledge of SSH and Linux command-line operations
Step 1: Prepare and Harden the Server Environment
Ensuring the server is properly updated and configured reduces vulnerabilities and prevents runtime issues.
1. Update System Packages
sudo apt update
sudo apt upgrade -y
2. Install and Enable NGINX
sudo apt install nginx -y
sudo systemctl enable nginx
sudo systemctl start nginx
3. Install and Secure MySQL
sudo apt install mysql-server -y
sudo mysql_secure_installation
During the secure-installation wizard, configure root authentication, remove anonymous users, disable remote root login, and enforce password policies.
4. Install Required PHP Extensions
WordPress requires PHP-FPM and several modules for stable operation.
sudo apt install php-fpm php-mysql php-xml php-gd php-curl php-mbstring php-zip -y
Confirm that the PHP-FPM socket path matches your system:
systemctl status php*-fpm
5. Install Node.js and npm
Use NodeSource to install a maintained Node.js version suitable for production.
curl -sL https://deb.nodesource.com/setup_18.x | sudo -E bash -
sudo apt install nodejs -y
Step 2: Install and Configure WordPress
1. Create the WordPress Directory
sudo mkdir -p /var/www/wordpress
cd /var/www/wordpress
2. Download and Extract WordPress
sudo wget https://wordpress.org/latest.tar.gz
sudo tar -xvzf latest.tar.gz
sudo mv wordpress/* .
sudo rm -rf wordpress latest.tar.gz
3. Create a Dedicated Database and User
sudo mysql -u root -p
Inside the MySQL shell:
CREATE DATABASE wordpress DEFAULT CHARACTER SET utf8mb4 COLLATE utf8mb4_unicode_ci;
CREATE USER 'wordpressuser'@'localhost' IDENTIFIED BY 'yourpassword';
GRANT ALL PRIVILEGES ON wordpress.* TO 'wordpressuser'@'localhost';
FLUSH PRIVILEGES;
EXIT;
4. Configure WordPress Credentials
sudo cp wp-config-sample.php wp-config.php
sudo nano wp-config.php
Update the following:
define('DB_NAME', 'wordpress');
define('DB_USER', 'wordpressuser');
define('DB_PASSWORD', 'yourpassword');
define('DB_HOST', 'localhost');
5. Set Correct Permissions
sudo chown -R www-data:www-data /var/www/wordpress
sudo chmod -R 755 /var/www/wordpress
6. Configure NGINX for WordPress
sudo nano /etc/nginx/sites-available/wordpress
Add:
server {
    listen 80;
    server_name yourdomain.com;
    root /var/www/wordpress;
    index index.php index.html;

    location / {
        try_files $uri $uri/ /index.php?$args;
    }

    location ~ \.php$ {
        include snippets/fastcgi-php.conf;
        fastcgi_pass unix:/var/run/php/php8.1-fpm.sock; # Adjust for your PHP version
    }

    location ~ /\.ht {
        deny all;
    }
}
Enable and reload NGINX:
sudo ln -s /etc/nginx/sites-available/wordpress /etc/nginx/sites-enabled/
sudo systemctl reload nginx
Step 3: Install and Deploy the Next.js Application
1. Create a Directory for Your Application
sudo mkdir -p /var/www/nextjs
cd /var/www/nextjs
2. Initialize a Next.js App
npx create-next-app@latest .
3. Install Dependencies and Build for Production
npm install
npm run build
4. Start the Next.js Server
npm run start
If using PM2 for process management (recommended):
sudo npm install -g pm2
pm2 start npm --name "nextjs-app" -- run start
pm2 save
pm2 startup
5. Configure NGINX Reverse Proxy for Next.js
sudo nano /etc/nginx/sites-available/nextjs
Add:
server {
    listen 80;
    server_name next.yourdomain.com;

    location / {
        proxy_pass http://localhost:3000;
        proxy_http_version 1.1;

        proxy_set_header Host $host;
        proxy_set_header Upgrade $http_upgrade;
        proxy_set_header Connection "upgrade";
        proxy_cache_bypass $http_upgrade;
    }
}
Enable and reload NGINX:
sudo ln -s /etc/nginx/sites-available/nextjs /etc/nginx/sites-enabled/
sudo systemctl reload nginx
Step 4: Configure DNS
At your DNS provider:
- A Record →
yourdomain.com→ server IP (for WordPress) - A Record →
next.yourdomain.com→ server IP (for Next.js)
DNS propagation may take several minutes.
Step 5: Finalization and Verification
1. Complete WordPress Installation
Visit:
http://yourdomain.com
2. Verify Next.js Deployment
Visit:
http://next.yourdomain.com
Optional Enhancements
- Add SSL certificates via Let's Encrypt using Certbot
- Use PM2 or systemd for persistent Next.js process management
- Implement caching and rate limiting through NGINX
- Configure secure headers (CSP, HSTS, XSS protection)
- Create an automated deployment pipeline for Next.js builds
Conclusion
This workflow provides a robust, production-grade method for hosting WordPress and Next.js side by side on the same server. The architecture enables teams to leverage WordPress for structured content while deploying modern JavaScript experiences through Next.js. With NGINX acting as a flexible reverse proxy, the system remains performant, secure, and scalable.